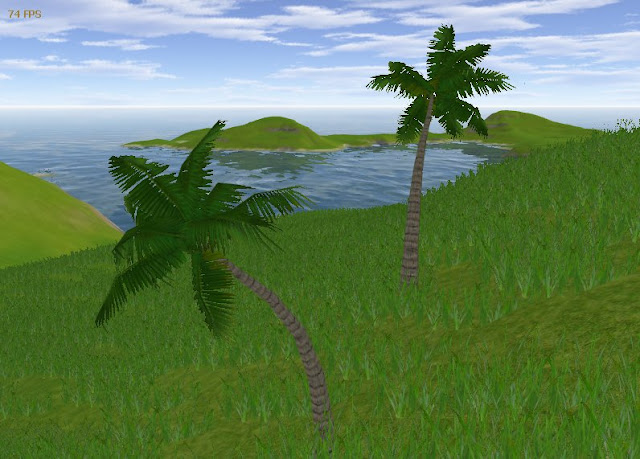
The above image is from a project I'm working on at the moment. It took a bit of research and trial and error to get to this point, so I thought I would take a moment to share some of what I've learned along the way.
One of the key elements of many types of 3D games is rendering realistic-looking landscapes, and one of the key elements of rendering a realistic-looking landscape is being able to texture the landscape so it looks good both at a distance and up close, all without completely killing the framerate. A technique known as texture splatting allows us to do just that.
But first, a few landscape basics. A rendered landscape has two basic elements -- an elevation, or height map and texturing. The information for both of these can be generated by a landscape generation program. The one I use is a fantastic program called L3DT. It uses all sorts of fancy techniques to generate realistic looking terrain, and can output a number of useful data files that can be used inside a 3D engine to display the landscape.
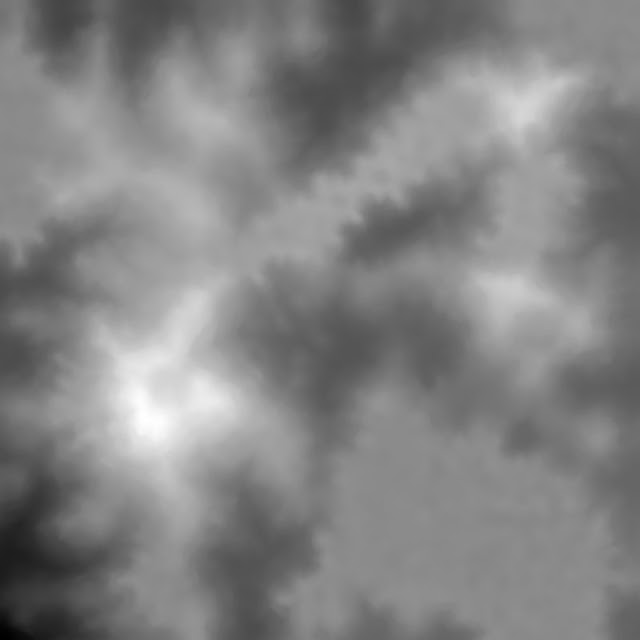
First, the height map. This is generally exported as a grayscale image, with lighter areas being higher in elevation. Here is an example:
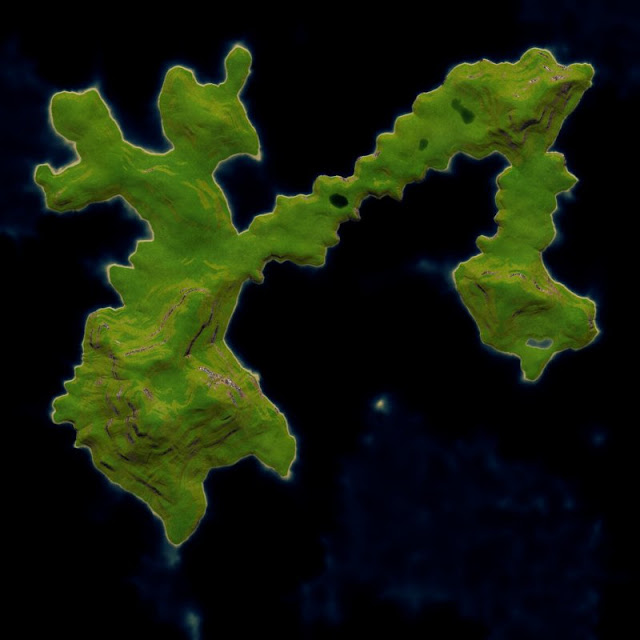
L3DT can also generate a corresponding texture image that represents the type of the terrain and also bakes in lighting information:
Using just these two images, we can already generate a pretty decent 3D visualization of the landscape. All we do is create a terrain mesh based on the height map and stretch the texture image completely over it. The result is something like this:
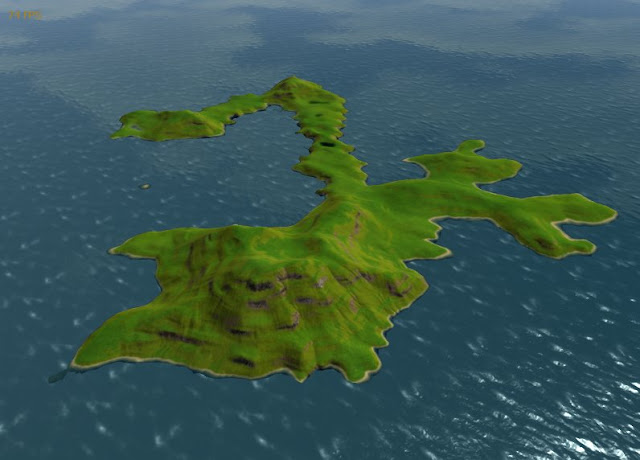
Looks pretty good, right? Well, there is a problem. It looks good at a distance because we are seeing the texture image at roughly it's actual resolution. When we render up close it is a different story altogether:
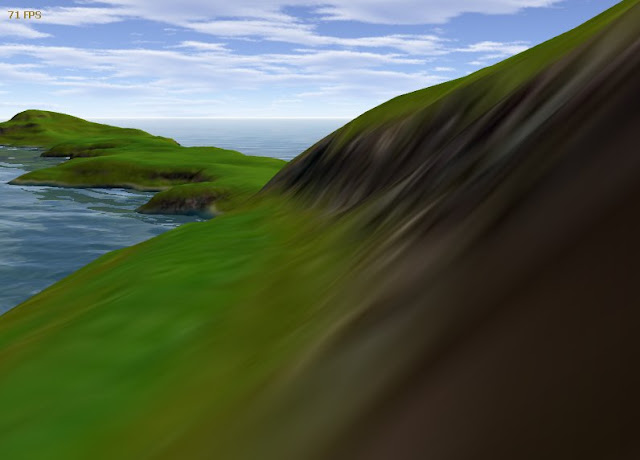
Not so hot. The texture image just doesn't have enough resolution to show detail up close. We could increase the resolution of the texture, but that quickly breaks down -- it simply takes too much memory in the graphics card.
This is where texture splatting comes in. What we want to do is supplement the high-level texture with some low-level details. To do this, we render some number of tiled-texture detail layers on top of the high-level texture. Each detail layer alpha-blended with the rest using an alpha map that represents the "amount" of the detail texture at any given point on the landscape. As a simple example, lets say that we have two detail textures -- grass and rock. Here are the two alpha maps, one for each, that can be used to control the texture splatting, along with an example subregion of the grass and rock detail textures I am using:


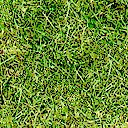
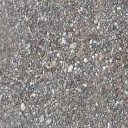
In the alpha maps, lighter areas mean more of the texture, with white being solid and black being fully transparent. These simple alpha maps will result in a landscape that is half grass and half rock, with a transition in the middle. If we use these alpha maps and apply them to our height map from earlier, we get this:
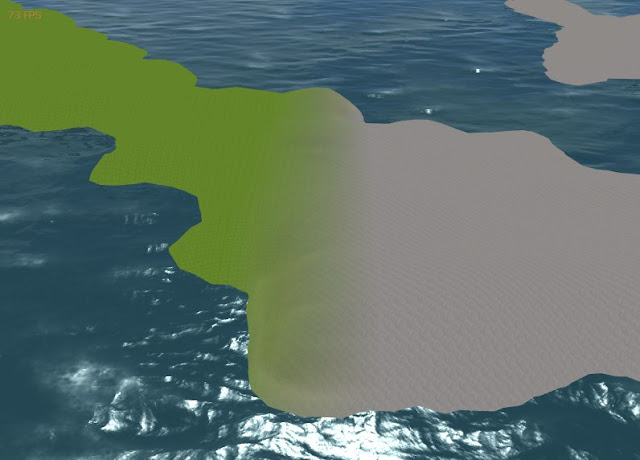
Kind of silly looking, but I hope it serves as a good example to understand how the alpha maps determine how the textures are rendered on the landscape.
For a real example, however, we will want alpha maps that match our landscape texture. Fortunately, L3DT can export these as well. For each terrain type L3DT is using to generate the landscape, it can export an alpha map that represents the density of that kind of terrain. For example, here is the grass density map it generates:
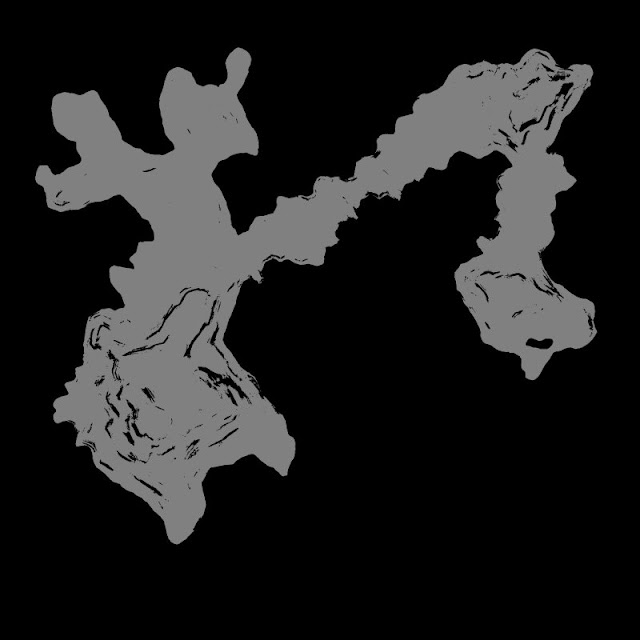
As you can see, we have grass all over the island area except for certain steep sections that contain rock. One thing to note here is that I have slightly modified the alpha map L3DT produces by taking the brightness down by about a quarter. This is so that we will still be able to see the high-level texture under the splatting layer.
Here is the result with splatting. I am using three splatting layers -- grass, rock and sand (which you can see a bit on the shore).
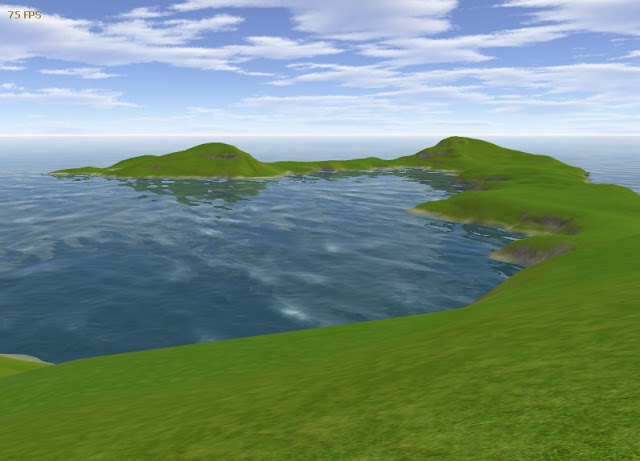
As you can see, we have nice details up close, while still retaining the color variation and shadowing from the high-level texture. By using the high-level texture as a base, you can often get by with just a few splatting layers. They only need to be used to highlight textural differences, not color differences since the color variation is provided by the high-level texture base. Here is an example of this:
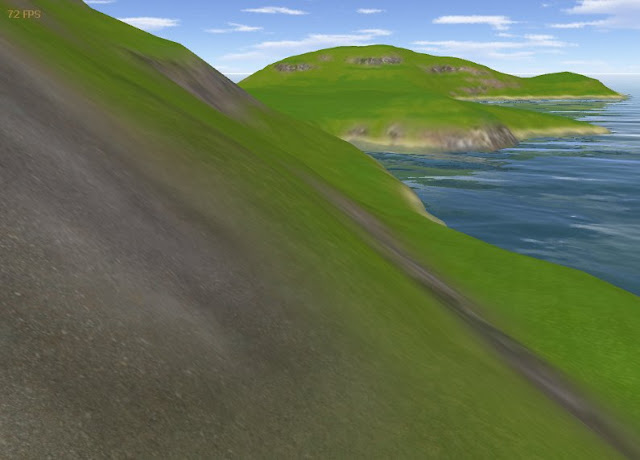
You can see the rock texture blend into the grass texture. This is caused by the alpha maps. The variation in lightness within the rock area, however, just comes from color variation in the high-level texture base.
That's it. Hopefully this helped to explain what texture splatting is, why it is useful and how you use it.
Some additional notes:
- How to actually *do* the splatting: Your best bet is to use an engine that supports it. I use Truevision3d. Failing that, you'll need to implement a splatting shader yourself that blends the base texture with the splatting layers while tiling the detail textures.
- Notes on detail textures: Use high-contrast textures with a lot of fine detail. Avoid textures with high-level variation in them or you will see tiling patterns on your landscape.
- About the water: The water in the pictures uses a modified version of Zak's Ocean Shader. Thanks, Zak!
- About the sky: It is a skybox rendered with Terragen.
- About the trees and grass in the first picture: The trees are just individual meshes. The grass is billboarded (rectangular textures that are rotated to always face the camera) using a custom groundcover system.
- How to use splatting in Truevision3d: I'll write up an example soon.
Very nice article!
ReplyDeleteGreat article. You are not using WPF to draw the terrain are you?
ReplyDeleteNope - no WPF here. It is all done using the Truevision 3D engine.
ReplyDeleteHi Mike,
ReplyDeleteGreat Article, I have an app running with TV and have everything working except the terrain. I cannot get the terrain to load to save my life. Any advise would be greatly appreciated. chad701@yahoo.com
gret info... do you use terragen
ReplyDeleteIntesting article
ReplyDeleteI use terragen, but not for generating landscapes to use programmatically. I've found L3DT to be better suited for that.
ReplyDeleteGreat.. Very artistic.. Hi, i find your blog very cool, would you mind if we can link our blog? I already link your blog to my site @ http://architects-rendering.blogspot.com/
ReplyDeleteHoping for link exchange.. Please use this URL: http://www.lazyanimation.com
Title: 3D Architectural Rendering
Dude,i still dont get why texture splatting is a way to add detail to you terrain but still keep it fast.
ReplyDeleteDo you mean you load the 'splat textures' only when the camera is closer to the terrain than the specified distance?
All of the textures are rendered all of the time. The key is that you are rendering textures at two detail levels - a primary texture that is stretched over the entire terrain, and the splat textures that are tiled over the terrain at a much more "close-up" friendly resolution.
ReplyDeleteHm,i see.
ReplyDeleteIs there a method that loads a 'dummy',low-res version of a texture if the camera is too far from it than a specified distance?
You are probably thinking of level-of-detail (LOD). From a texture perspective, this is generally achieved using mipmaps, although that has as much to do with reducing aliasing as it does with performance.
ReplyDeleteThats what i was looking for,mipmapping.Thanks.
ReplyDeletePS.Is there any chance you will ever make a 3d cloud tutorial?I find it hard to make a random cloud generator.The documentation the net isnt enough either.
very nice work!
ReplyDeleteGreat tutorial,
ReplyDeletecould you maybe post some example code how to achieve this easily in truevision3D? That would be greatly appreciated!
nice stuff
ReplyDeletevery Interesting article keep posting
ReplyDeleteI do architectural renderings, and we do some terrain mapping for larger landscaped areas. However for still images (not animations) its much faster for us to add grass and trees as photoshopped layers.
ReplyDeleteI've just discovered a program called SmartDraw and was able to produce a map of our Community Garden. Very mundane stuff, I know, but still for a beginner, I was impressed.
ReplyDeleteHello,
ReplyDeleteThis is a multipass rendering ?
Sam
Hi Sam - it is a single pass technique.
Delete