Handling Level-Of-Detail (LOD) gracefully for terrain turns out to be tougher than you might expect. Terrain has a particular characteristic that you don't usually have to deal with when doing LOD for other kinds of objects (ie: trees, etc.) - it is continuous. That creates problems.
Initially, I was doing LOD on an entire island-by-island basis. I could increase or decrease the detail of the island based on distance, but the entire island had the same level of detail. That worked ok, but it was inefficient and I knew I would eventually outgrow it.
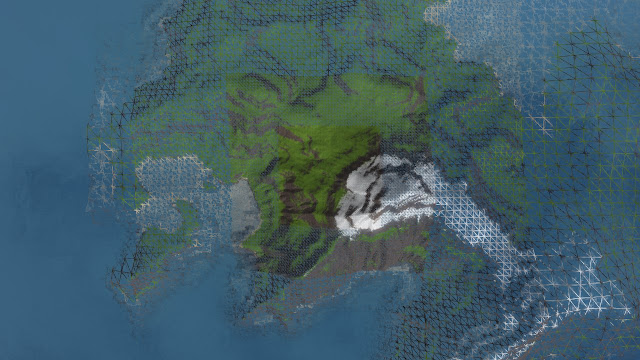
Above, you can see my current method for doing terrain LOD. Instead of the terrain being composed of a single grid mesh, it is now broken down into concentric square "rings". With each successive ring, the grid size is doubled. As the camera moves, the grid moves with it so that the highly detailed area is always nearby.
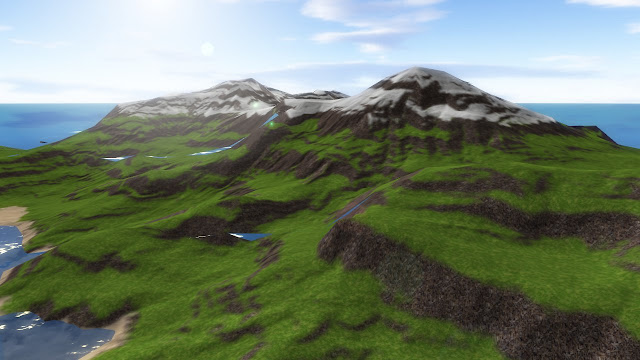
The big win you get from doing this is that the number of triangles you need to draw increases linearly with the size of the terrain, rather than exponentially with the area. The down side is that you have to deal with seams. Where one level of detail meets the next, you get discontinuities in the terrain. As you can see below, this is clearly not acceptable:

It took me a while before I came up with a solution to the seam problem that I was happy with. Most techniques for handling seams revolve around adding extra geometry to "stitch" the edges together. I really didn't want to resort to that unless I had to.
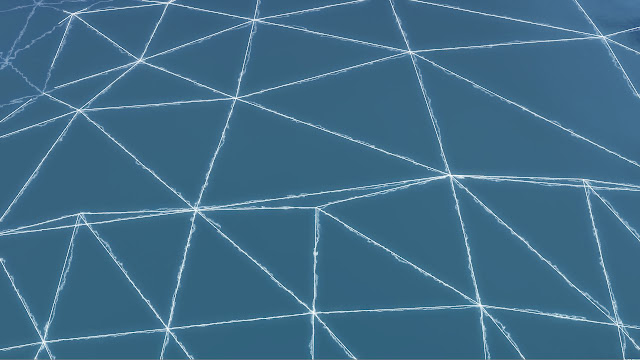
Yesterday I finally came up with a good solution. I'll see if I can explain it in a way that makes sense. The situation that creates seams is the edge between one ring and the next ring with half as many grid squares. As you can see below, where the two rings share an edge, the more detailed ring samples an extra height point between each point on the less detailed ring. This creates a gap in the mesh:

Conceptually, my solution was to force the heights of the extra middle points on the edge of the more detailed grid to be the average of the two points on either side - essentially simulating the edges of the neighboring, less detailed grid. In practice, though, it is a bit more tricky. I couldn't do the averaging in the terrain shader since it only has very local access to one vertex at a time.
Since my height data is passed to the shader in a texture (rather than being baked into the vertices themselves), I was able to create a secondary texture at each level of detail where I pre-set the averaged intermediate points. Then I configured my grid vertex data with an extra piece of data (currently in the otherwise unused 'Z' component of position) - a blend amount between the averaged height texture and the unmodified texture. Edge vertices have this set to 1, while it is zero elsewhere.
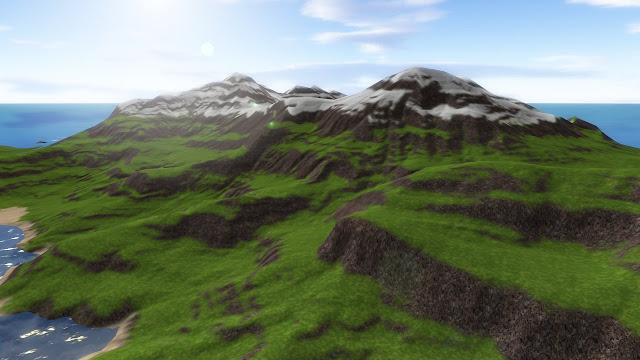
So far it seems to be working really well. Here is the same picture from above, but now using the averaging technique:

Yay - no seams!
That looks nice. I'm building a 10x9 terrain in unity right now which is 90 total average size terrains set side by side with the default settings. I'm using a program called stitchscape to stitch the terrains together. Your terrain looks really nice, and better then mine as far as textures. My setup is compared to how a guy on youtube shows how to detail the terrain with a program called terrain toolkit. Keep up the good work!
ReplyDelete-Mike (Same name as you? haha)